Applying for an employment visa can easily feel like a maze. There are forms to fill, steps to follow, and, most importantly, a list of paperwork that needs to be just right. Over the years, I’ve seen plenty of people trip over missing or mismatched documents, so I’ll break down what you actually need to get things rolling smoothly.
Basic Documents You’ll Nearly Always Need
Most employment visas, no matter where you’re heading, share a bunch of common requirements. Not every situation is the same, but these documents show up on just about every checklist. Having these ready is a big step forward.
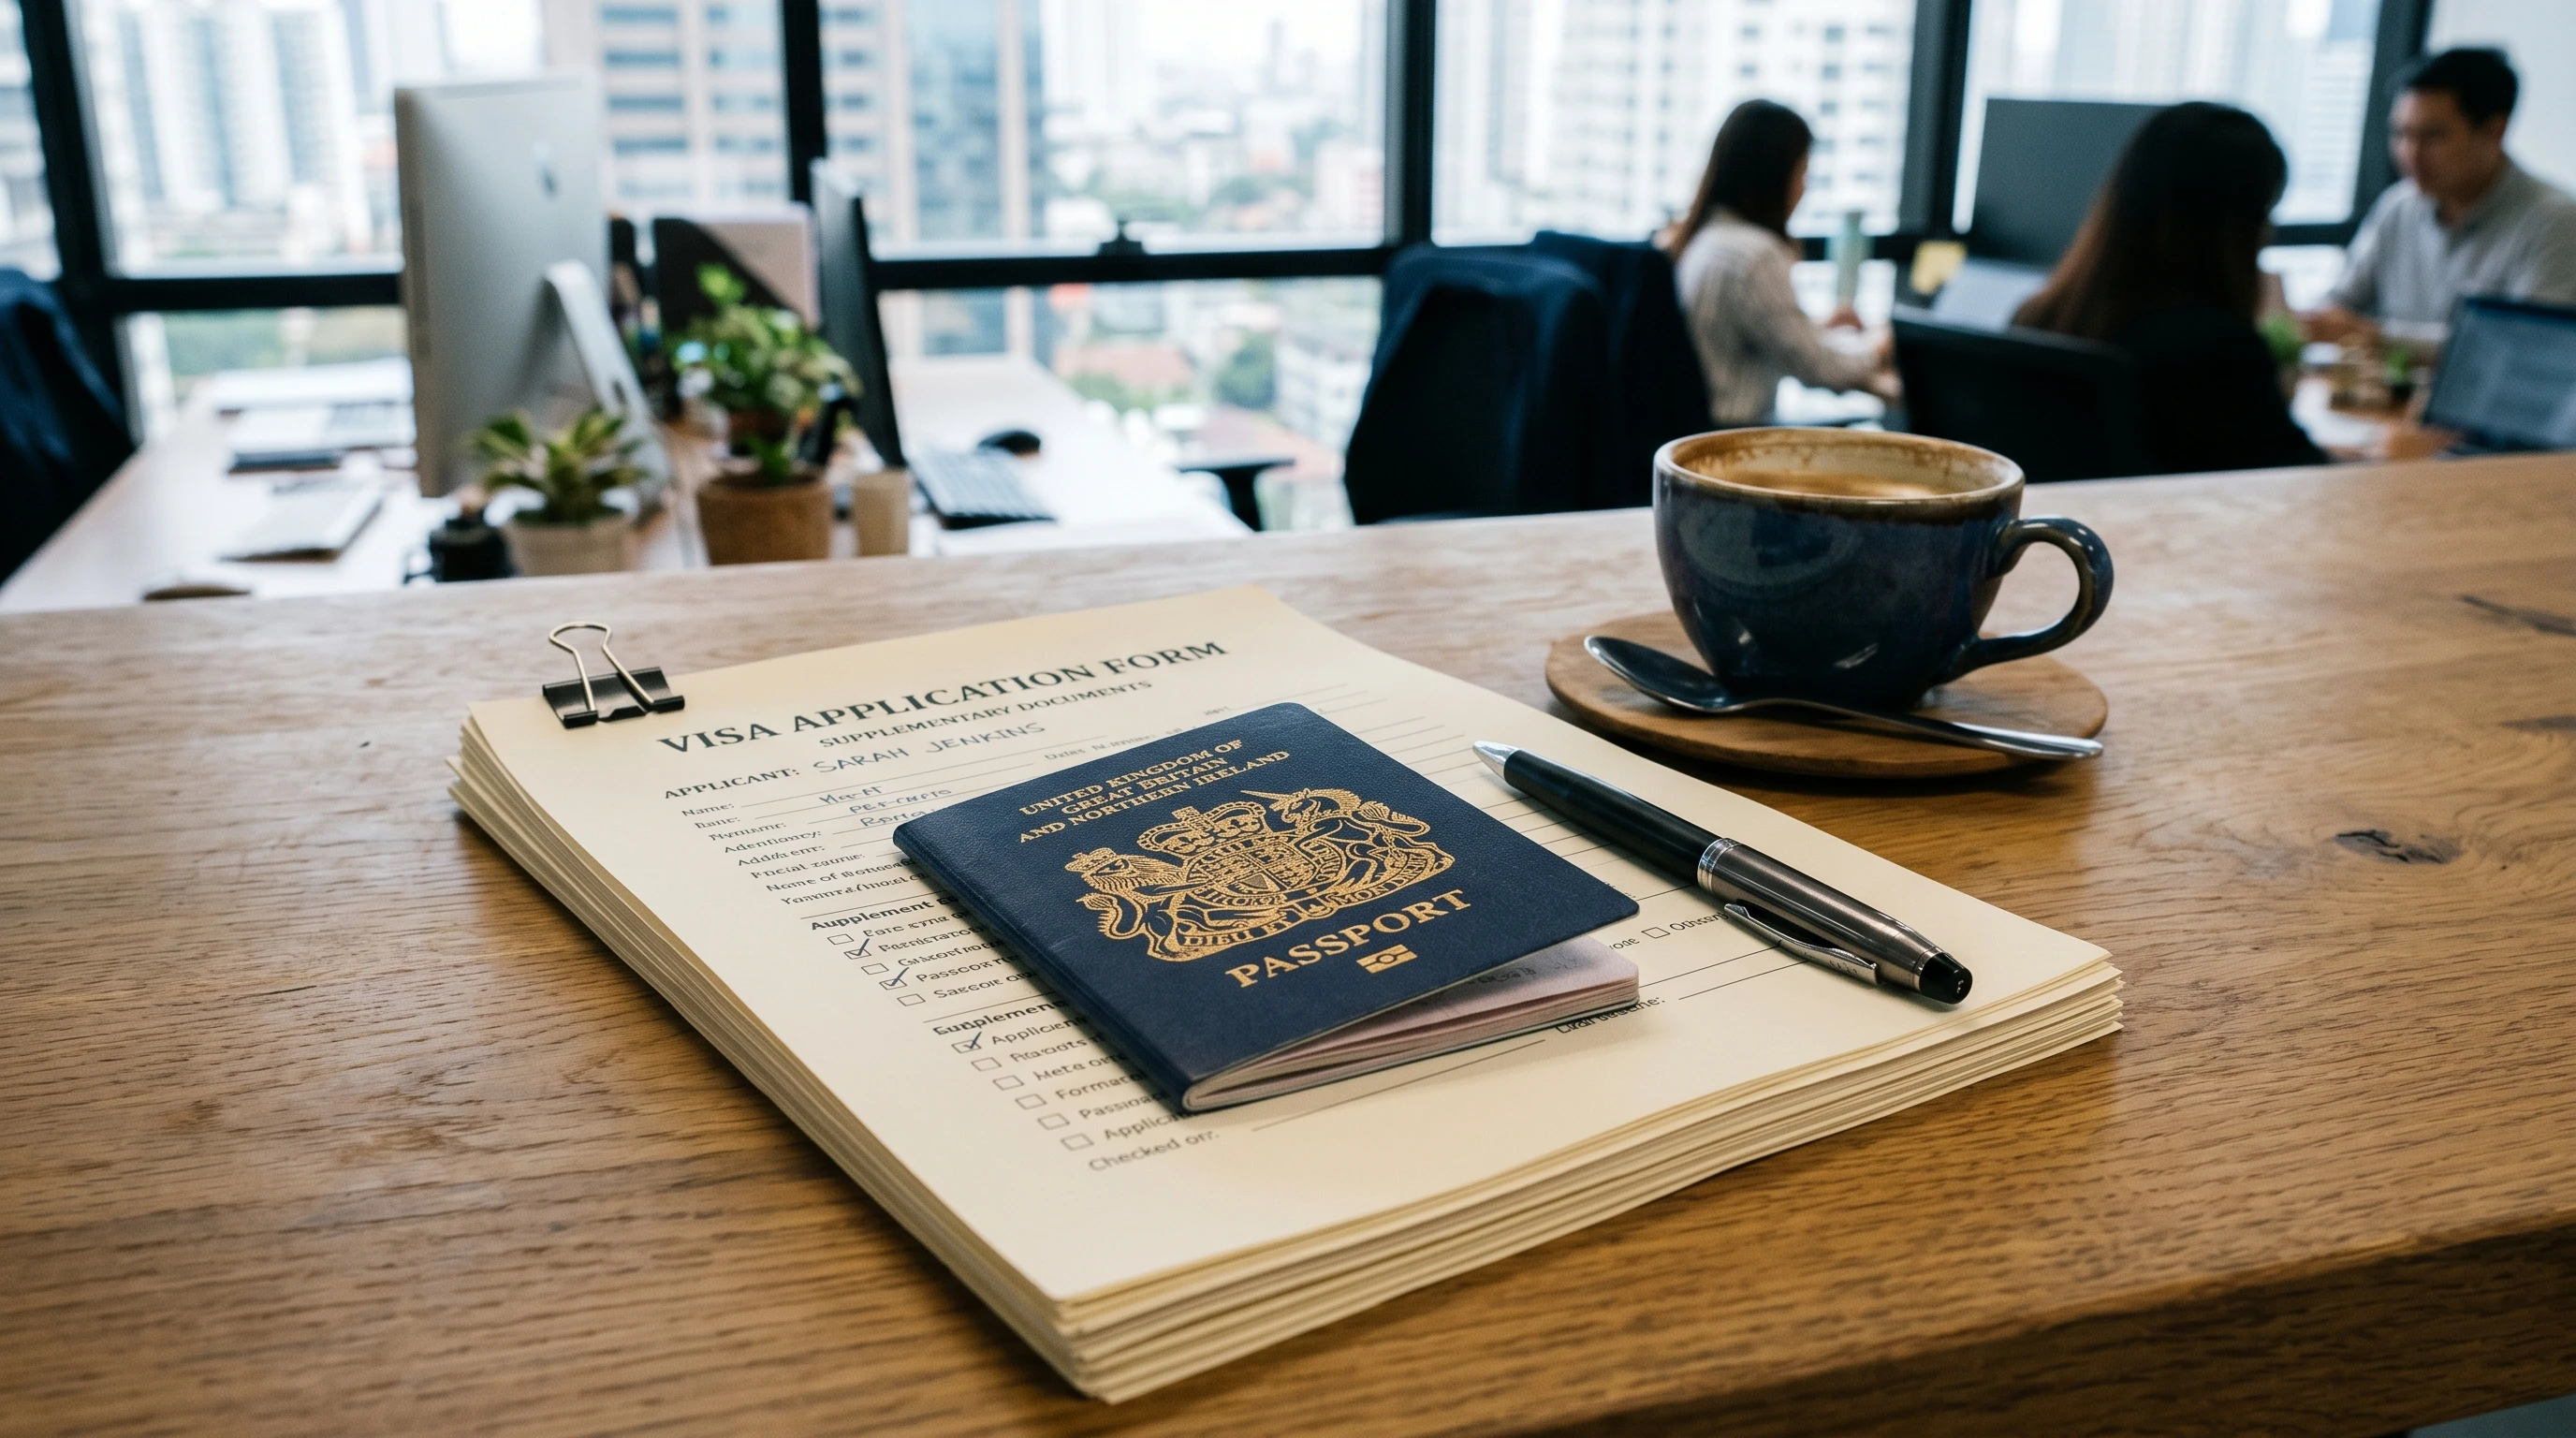
- Valid Passport: Most countries want your passport valid for at least six months beyond your planned entry date. Some require blank visa pages as well.
- Visa Application Form: This is usually available online. Double-check that you fill it in accurately and honestly.
- Passport Sized Photos: Countries often list specific photo requirements (background color, size, no selfies), so it’s handy to check those details before heading to a photo shop.
- Job Offer Letter: This letter from your employer confirms your position, salary, and the duration of your work contract. It makes your intent clear to immigration officials.
- Employment Contract: Some places want a detailed contract instead of just an offer letter. It spells out both party’s rights and responsibilities.
- Visa Fee Payment Receipt: Most applications charge a fee, and you’ll need proof you’ve paid it.
Keeping digital and paper copies of everything can save a ton of stress if something gets misplaced or you’re asked for extras at a consulate visit. For example, some embassies request electronic uploads in advance, while others only accept hard copies. Get familiar with the instructions for your destination to avoid extra trips or last-minute printing errors.
Supporting Documents That Make a Difference
Beyond the basics, governments usually want proof you qualify for the job and that you’re not a legal headache. The next set of documents varies more but is just as important.
- Educational Certificates: Bring your degrees, diplomas, and any transcripts that back up your education claims. If your documents aren’t in the official language, you’ll usually need certified translations.
- Professional Licenses or Certificates: Jobs like teaching, nursing, or engineering sometimes need proof of certification or licenses. Again, translated copies might be necessary.
- Work Experience Letters: These letters from past employers show you have the skills and background needed for your new role. Make sure the dates and duties line up with what’s on your resume and job offer.
- CV or Resume: Most embassies will ask you to show your full work and education history. Make sure dates, projects, and job titles match your other documents.
- Police Clearance Certificate: Some countries want proof you don’t have a criminal record. Depending on the country, get this from national or local police, and allow several weeks for processing.
- Medical Exam Reports: Health checks prove you don’t have infectious diseases. There’s usually a list of approved clinics or hospitals to use.
Having neatly organized copies with translations where needed keeps everything running smoothly at your visa appointment or interview. Also, some destinations require extra steps, like authentication or notarization of qualifications, especially for jobs in healthcare or education.
It’s smart to make a checklist for these supplemental papers before you schedule your consulate visit. Embassies may even offer their own sample templates for experience letters and translation formats on their official websites.
Country Specific Extras Worth Checking
Every country has its quirks when it comes to employment visas. While the main paperwork overlaps, some governments want a little more to reassure them or get local agencies involved.
- Labor Market Opinion or Work Permit Preapproval: Some countries ask employers to prove they tried hiring locals first (for example, Canada’s LMIA or UK’s Certificate of Sponsorship); without these, the visa application usually won’t move forward.
- Proof of Accommodation: A rental agreement or hotel booking sometimes needs to be included to show you have a place to stay upon arrival.
- Financial Proof: Some embassies want bank statements to show you (or your employer) can cover early expenses, at least until your salary kicks in. Double-check how much is required for your specific location.
- Family Documents: Moving with spouses or kids? Marriage and birth certificates, sometimes apostilled or notarized, are part of the deal. These also need certified translations if not in the destination language.
- Translations and Apostilles: Anything not in the destination country’s official language may need official translation (sometimes certified or notarized) and an apostille to prove the document is genuine.
I always double-check the specific embassy website or reach out to their helpline for a country-targeted list; it’s worth the effort to avoid unpleasant surprises.
In places with strict immigration controls, they may even require proof of health insurance or a local tax registration before final approval. Don’t skip reading the latest news updates on embassy sites, as rules often switch up unexpectedly, especially in times of global health issues or economic changes.
Common Hurdles and How to Dodge Them
Paperwork can bottleneck even a smooth application if something gets overlooked or lost in translation. Here are common bumps and practical ways to get past them:
- Name Mismatches: Make sure your name matches across all documents. Accents, missing spaces, or different spellings often cause extra questions.
- Validity Periods: Many want documents like police checks or medicals no older than 3–6 months. Submitting something too old will likely get you sent for a redo.
- Translation Rules: Official translations aren’t always needed, but if they are, using a random friend won’t cut it. Certified translators or embassy-lists are the safest bet.
- Missing Originals: Photocopies don’t always cut it. Some embassies ask to see the original degree or contract during your appointment, even just for a quick inspection.
- Document Authentication: Some countries want extra proof your originals are real. This might involve an apostille (for Hague Convention countries) or embassy verification. Sometimes this has to be done in your home country before you travel.
I always keep a “visa folder” with sorted originals, copies, translations, and receipts. It might feel oldschool, but it saves time and reduces headaches.
It’s also wise to check embassy holidays and booking requirements in advance. Many countries now require appointments weeks ahead and may only accept walk-ins in real emergencies.
Step by Step Checklist for Applications
Making a checklist before heading to the visa center or embassy keeps everything organized. Here’s a quick one I’ve used for several friends:
- Double-check Entry Requirements: Use your future employer’s HR department, embassy website, or an immigration lawyer for up-to-date lists and country-specific exceptions.
- Collect and Sort Originals: Keep passports, certificates, and letters separate from your backup copies for easier access at your appointment.
- Make Clear Copies: Scan and print copies; even if not required, they help in emergencies and for electronic uploads.
- Tag Translations & Apostilles: Attach or staple translations and apostilles to their originals to avoid mixing things up.
- Check Expiration Dates: Health certificates, police checks, and photos should all still be valid according to embassy guidance.
- Preorganize Documents: Group by category (ID, work, health, background) so producing them at a visa appointment is quick and simple.
- Prepare Questions: Jot down any questions about vague requirements to ask embassy staff or your employer’s HR contact, so nothing is left to chance.
This routine means fewer return visits to the embassy and less last-minute stress if something is deemed outdated or incomplete. A few hours mapping out your paperwork saves days or weeks of delays.
Frequently Asked Questions
When I help friends and readers, some questions come up almost every time. Here are a few worth addressing:
Question: Can I apply with scanned or digital copies only?
Answer: Most embassies want to see paper originals at some point, even if the initial application is online. Always bring the originals to your appointment. Electronic copies are handy for uploads but rarely enough for full approval.
Question: What if some documents are missing or delayed?
Answer: Some embassies allow you to submit a “letter of explanation” with proof the document is on its way. However, a missing document can delay approval, so it’s better to wait until everything’s ready or consult embassy staff to see if partial processing is possible.
Question: Can I use older documents from previous visa applications?
Answer: Generally, documents like police checks and medicals have to be recent. Double-check the destination country’s specific rules since they can be strict on issue dates. Keep in mind that “recent” often means within the last three to six months, not years.
Question: My name or details have changed. What do I do?
Answer: Include evidence of the name change, like a marriage certificate or legal document, and make sure the changes are consistent across all paperwork. Providing a short letter that explains the change, plus supporting documents, can make the process smoother.
Question: What if I need to travel urgently and can’t wait for my full visa?
Answer: Ask about priority or expedite options at your embassy. In rare cases, you may be eligible for a temporary permit or priority processing if you can show urgent need (like reporting to work by a certain date or family emergencies).
Why Organizing Your Documents Matters
Bringing the right documents isn’t just about ticking boxes. It speeds up processing and shows you’re prepared, which encourages immigration staff to help rather than hold things up. Missing paperwork is the number one reason for delays, and rejected applications often come down to something as small as an untranslated word or a missing signature. Careful research helps applicants avoid these slip-ups.
Staying organized and double-checking every requirement with official sources (like embassy pages or recognized immigration firms) is super important, especially since visa rules change often. A few hours spent preparing your paperwork often saves weeks of waiting or appeals later on. Building up your own checklist each time means you have a reference for future applications, too.
Heading into a visa appointment feeling totally prepared is actually a pretty satisfying feeling. There’s nothing quite like handing over a neat stack of paperwork, knowing you haven’t missed a single thing. Good luck with your employment visa adventure!
